
Adding/Removing Members of an Office365 Group as the Owner
Prerequisites
- You must be an Owner of the Office 365 group to be able to make changes to the group.
Instructions
Step 1. Sign in to the Outlook application on your computer
Step 2. From the Home tab, Scroll down to the bottom of your inbox on the left-hand side and find a drop-down called "Groups"
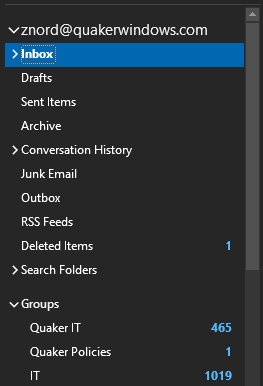
Step 3. Select the group that you would like to modify the members to in the drop-down list
Step 4. Click "Group Settings"

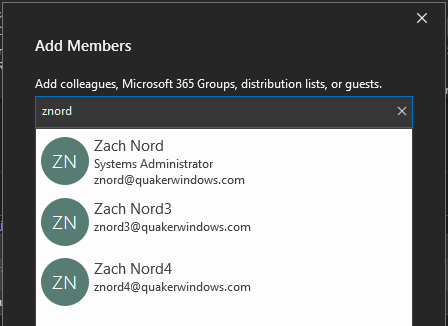
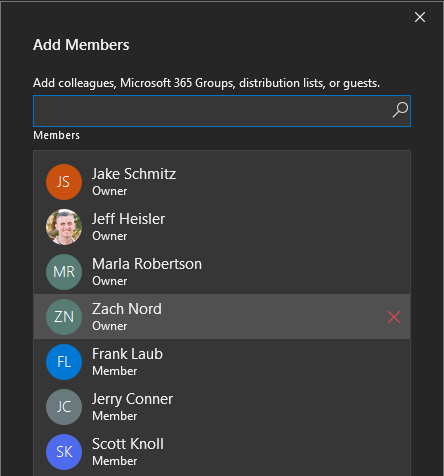
Step 5. Click "Add Members". (If Removing, go to step 6b.)Step 6a. To add a member, search for the account you would like to add to the group. Click "Ok"Step 6b. To remove a member, click the red X next to their name when you highlight them. This will remove them from the group
Step 7. Click "Ok" and you are finished!
Additional Help
If you have any questions or ideas to make this document easier to follow, please go to the top right above this document to Submit a Request or the Contact us link below and we will answer any questions or implement ideas!