
How to Share Files/Folder in OneDrive
This document will show you how to share resources stored in your OneDrive with others.
Instructions
Step 1. Sign in to OneDrive if you are not already. You can do this by clicking the Windows icon in the bottom left-hand corner of your computer, typing OneDrive, and clicking enter on the application. Sign in using your email address and email password.
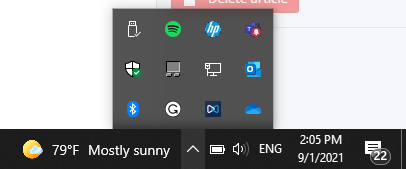
Step 2. On the bottom right-hand side of your taskbar, the OneDrive icon should appear on the taskbar or in the list of icons after clicking the up arrow carrot. (The location of the icon may vary)
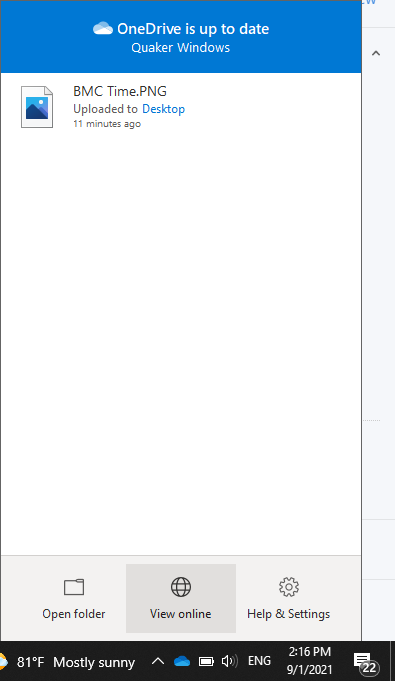
Step 3. Click the OneDrive Icon and then click "View Online."
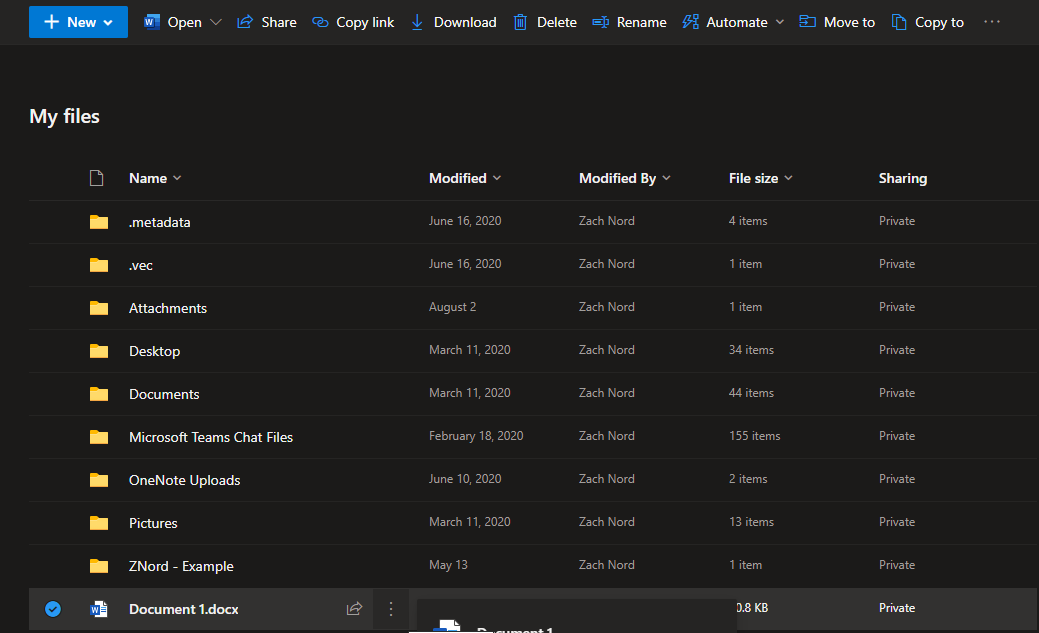
Step 4. Navigate to the document that you would like to share and click the vertical elipse to the right of the name.
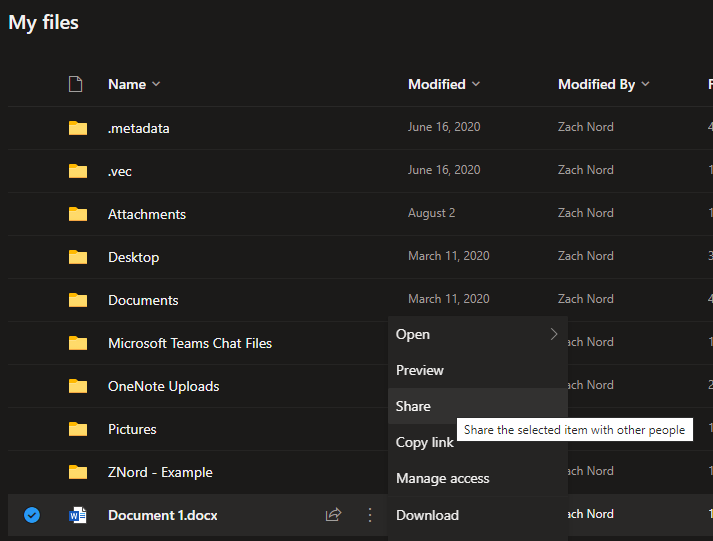
Step 5. From the Vertical Elipse Menu, click "Share"
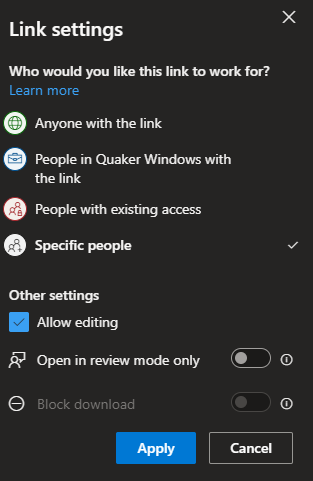
Step 6. The first thing we need to do is click the box that says "Specific People" and customize the access we would like to give when sharing the document. Assign the permissions you would like to give based off the descriptions below. Click Apply when finished
- Anyone with the link (Anyone internal or external can access the document with the link)
- With this option you can specify a date that the link expires and a password for the link
- People in Quaker Windows with the link (Creates a link for people in your organization to access)
- People with existing access (Used when sending a link to someone who already has access)
- Specific people (Only the specific users you specify)
- Allow Editing (Allows the shared users to edit the document)
- Open in Review Mode Only ( People can only leave comments and make suggestions)
- Block Download (Prevents the user from downloading the document. **Requires** allow editing to be off)
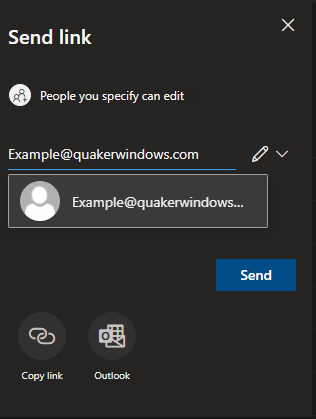
Step 7. From here, if you selected "Specific People" you will need to type all the names of the users you would like to send the document to. To the right hand side you can specify wether they are allowed to make changes or if they only have read only access. When you click send, the user will receive an email of the document being shared to them!
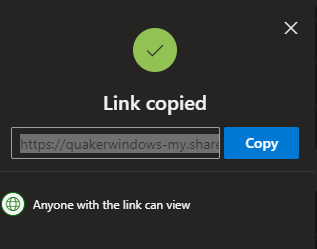
If you selected any of the other selections for who you would like the link to work for, you can click copy link below and just send them the link directly through any means of communication.
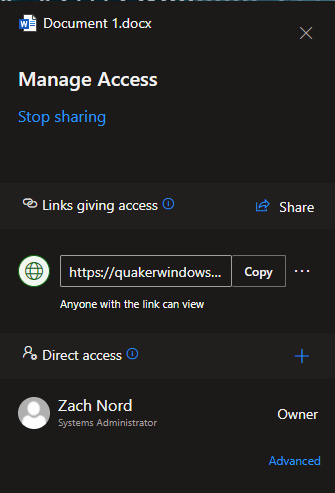
Step 9. You can stop sharing at any time by clicking the vertical elipse and clicking "Manage Access." On the right hand side there will be a button that says "Stop Sharing." You can also remove individual access granted from this menu by clicking the X next to someones name.
Additional Help
If you have any questions or ideas to make this document easier to follow, please go to the top right above this document to Submit a Request or the Contact us link below and we will answer any questions or implement ideas!